LESSON 20
APPLY A SAM SPLINT TO A FRACTURED LIMB
TASK
Apply a SAM splint to a fractured limb.
CONDITIONS
Given a simulated casualty with a fractured limb and a SAM splint.
STANDARD
Score a GO on the performance checklist.
REFERENCES
STP 21-1-SMCT, Soldier's Manual of Common Tasks: Skill Level 1.
FM 21-11, First Aid for Soldiers.
20-1. INTRODUCTION
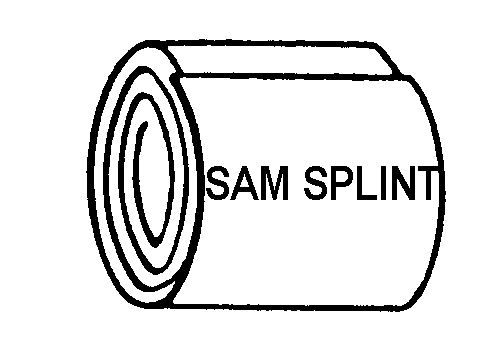
The universal malleable aluminum splint, called the SAM Splint (Splint, Aluminum Malleable) can be used as the rigid objects in splinting a fractured wrist, forearm, upper arm, ankle, or lower leg. It is a piece of flat aluminum completely covered by foam, which serves as padding for the splint. The SAM splint is lightweight (less than 7 ounces) and measures 4.25 inches wide by 36 inches long. The splint is rolled up for easy storing and can be reused.
20-2. PREPARE THE CASUALTY FOR APPLICATION OF THE SPLINT
Expose the injury site. Cut away any bulky clothing that may interfere with application of the splint.
WARNING
If you are in a chemical environment, dress any wounds and splint the fracture without exposing the injury. Do not cut away any clothing.
Check for a pulse below the fracture site. If no pulse is found, splint the injury and evacuate the casualty as soon as possible.
Do not attempt to straighten the fractured limb. If a joint is fractured, splint the limb in that position. Adjust the shape of the SAM splint to conform to the shape of the limb.

FIGURE 20-1. SAM SPLINT ROLLED UP
20-3. APPLY THE SAM SPLINT TO A FRACTURE OF THE FOREARM, WRIST, LOWER LEG, OR ANKLE
a. Fractured Forearm or Wrist
Unroll the SAM splint and flatten it.
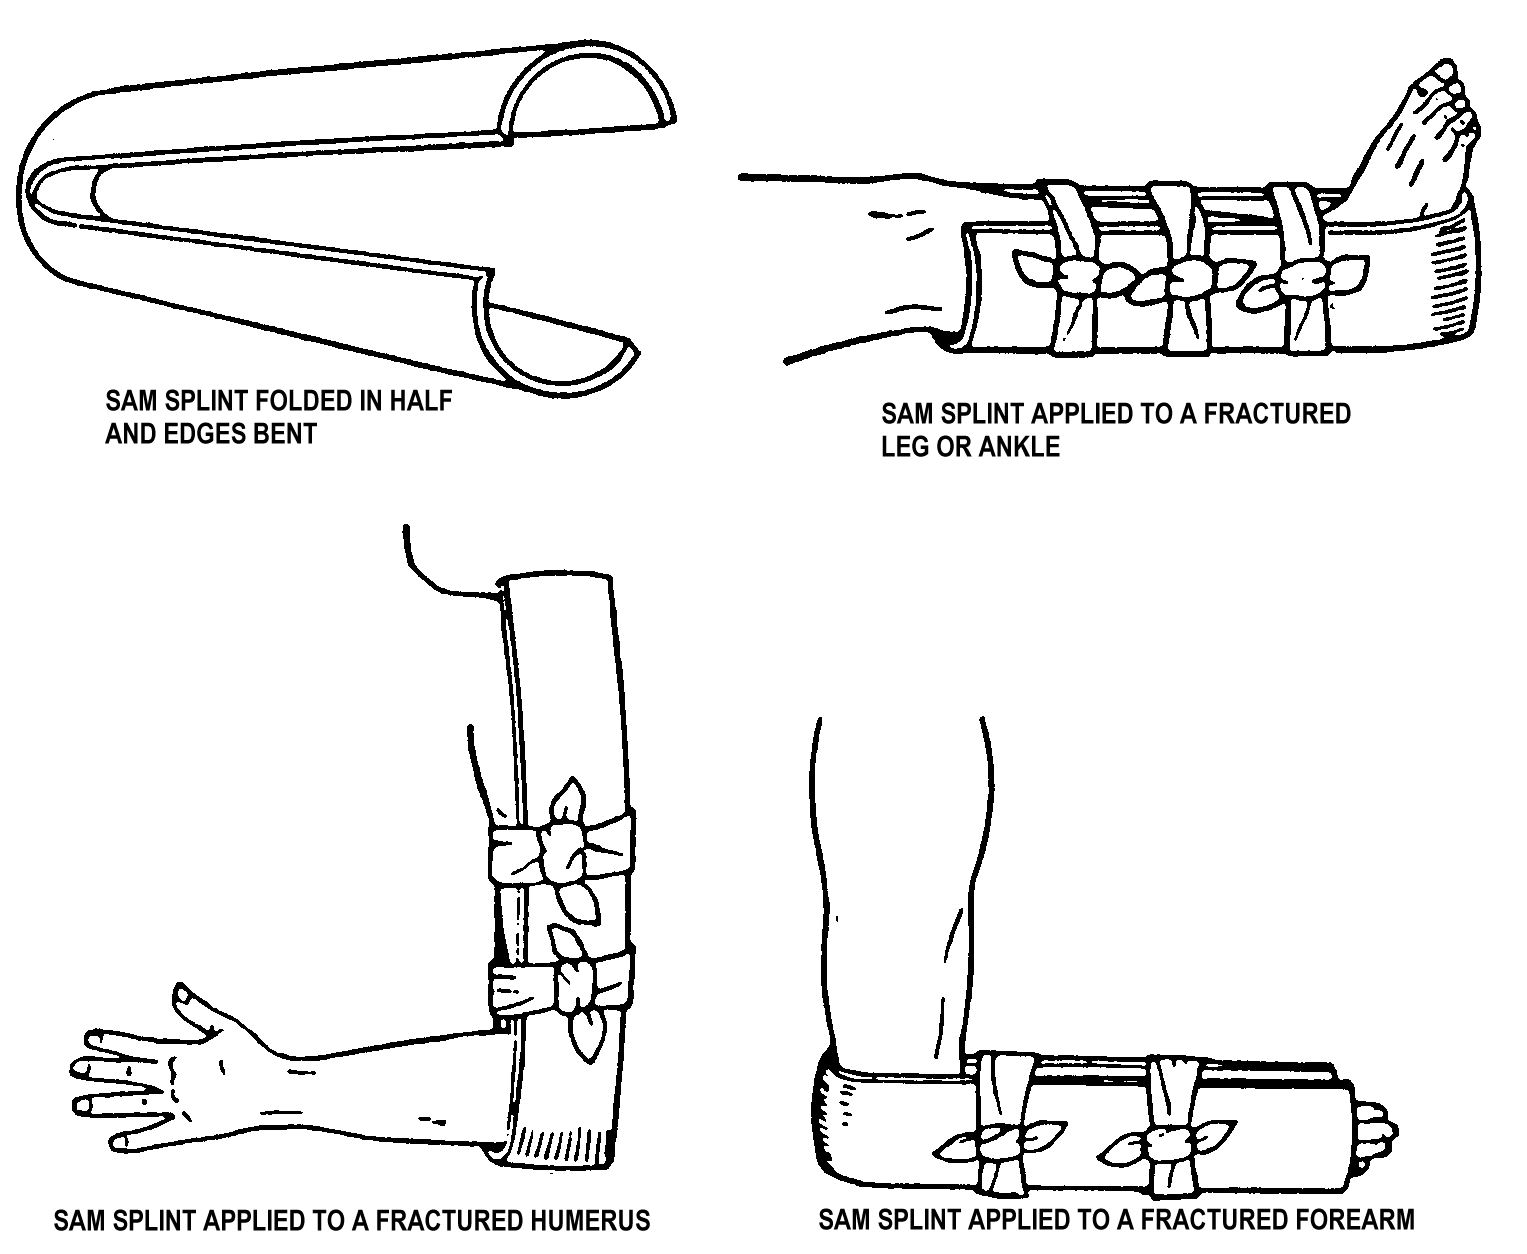
Fold the SAM splint in half so it is a tall V-shape.
Bend the edges of the splint in until the shape of the splint generally conforms to the curve and shape of the limb being splinted. (Each half of the splint will have a U-shape.) Bending the edges also increases the rigidity of the SAM splint.
Prepare cravats from muslin bandages to be used in securing the splint.
If muslin bandages are not available, cut or tear strips of cloth from a blanket or clothing.
If materials are not available, use the tape in your aid bag to secure the splint.
Apply the SAM splint to the fractured limb so the fracture is between the two sides of the splint. Adjust the shape of the SAM splint to conform to the limb, if needed.
Secure the splint using at least two cravats. Secure the splint above the fracture site and below the fracture site. Do not apply a cravat directly over the fracture site.
Tie the tails of the cravats in a nonslip knot on the outside of the splint. Tuck the ends of the tails into the cravat to prevent accidental entanglement when the casualty is moved.
Check the casualty's pulse below the most distal cravat.
If you cannot detect a pulse, but the casualty had a pulse before the splint was applied, loosen the cravats and reapply. If the splint is applied to the upper arm, make sure the end of the splint is not pressing into the armpit.
After you have adjusted the splint (if needed) and retied the cravats, check the casualty's pulse again. If the casualty still does not have a pulse, evacuate the casualty as soon as possible.
b. Fractured Lower Leg or Ankle
Quickly shape the splint.
Check the casualty's pulse below the fracture site. Loosen footgear, if needed.
Apply the splint to the casualty's lower leg with the bend on the bottom of the footgear.
Secure the splint with cravats above and below the fracture site, if possible. Tie the tails in a nonslip knot on the outside of the splint.
Check the casualty's pulse below the most distal cravat.
If you cannot detect a pulse, but the casualty had a pulse before the splint was applied, loosen the cravats and reapply. If the splint is applied to the upper arm, make sure the end of the splint is not pressing into the armpit.
After you have adjusted the splint (if needed) and retied the cravats, check the casualty's pulse again. If the casualty still does not have a pulse, evacuate the casualty as soon as possible.

FIGURE 20-2. SAM SPLINT APPLICATIONS
20-4. APPLY THE SAM SPLINT TO A FRACTURE OF THE UPPER ARM (HUMERUS)
Unroll the SAM splint and flatten it.
Fold the SAM splint into an irregular (uneven) V-shape so one side of the V is about four to six inches shorter than the other.
Bend the edges of the splint so the sides of the splint are U-shaped and generally conform to the shape of the limb being splinted.
Prepare securing materials (cravats, strips of cloth, or tape).
Apply the SAM splint to the fractured limb so the short side is in the casualty's armpit (but not pressing on the armpit), the long side extends to the shoulder, and the upper arm is between the two sides of the splint.
Adjust the shape of the SAM splint to conform to the limb, if needed.
Secure the splint using at least two cravats. Secure the splint above the fracture site and below the fracture site. Do not apply a cravat directly over the fracture site.
Tie the tails of the cravats in a nonslip knot on the outside of the splint and tuck in the tails.
Check the casualty's pulse below the most distal cravat.
If you cannot detect a pulse, but the casualty had a pulse before the splint was applied, loosen the cravats and reapply. If the splint is applied to the upper arm, make sure the end of the splint is not pressing into the armpit.
After you have adjusted the splint (if needed) and retied the cravats, check the casualty's pulse again. If the casualty still does not have a pulse, evacuate the casualty as soon as possible.
20-5. CHECK THE CASUALTY
Check the casualty's pulse below the most distal cravat.
If you cannot detect a pulse, but the casualty had a pulse before the splint was applied, loosen the cravats and reapply. If the splint is applied to the upper arm, make sure the end of the splint is not pressing into the armpit.
After you have adjusted the splint (if needed) and retied the cravats, check the casualty's pulse again. If the casualty still does not have a pulse, evacuate the casualty as soon as possible.
If the splint was applied to a fractured upper arm, forearm, or wrist, apply a sling and swathe to further immobilize the fracture.
Periodically check the distal pulse to ensure that swelling has not compromised the pulse.
If possible, practice applying a SAM splint to simulated casualty. Apply the SAM splint to a fracture of the wrist, forearm, upper arm, ankel, and lower leg.
Checklist follows.